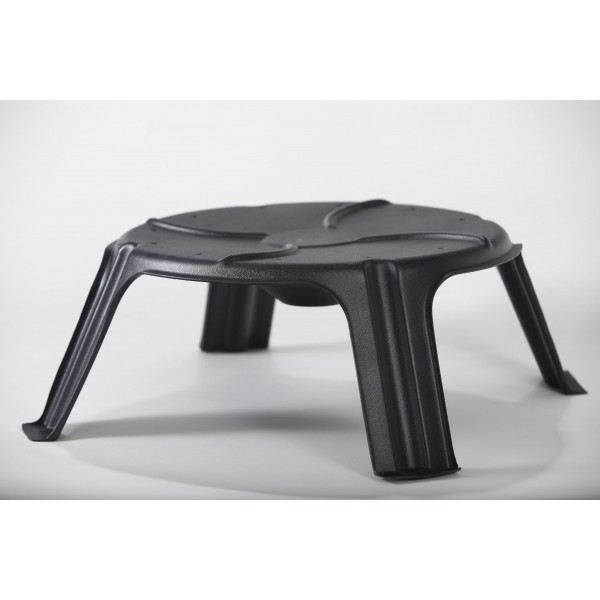
STANDARD SNOWGUARD
***This product is not available to shipping if you do not take the installation.***
We offer an optional installation service for the greater Montreal region (North and South shore, Island of Montreal, Laval) . Upon reception of your order, we will contact you between 08:00 and 17:00 pm on the first business day following your order to set-up an appointment for the installation.
Here is a practical solution to significantly reduce the accumulation of snow on and in the heat pump. Made from polymers, the Snowguard-S is easily installed on virtually any heat pump models. For the careful and conscientious DIY , install it yourself in less than an hour.
The box includes:
- Snowguard-S (1)
- Ty-rap (8)
- Self- tapping screws(12)
- Installation instructions
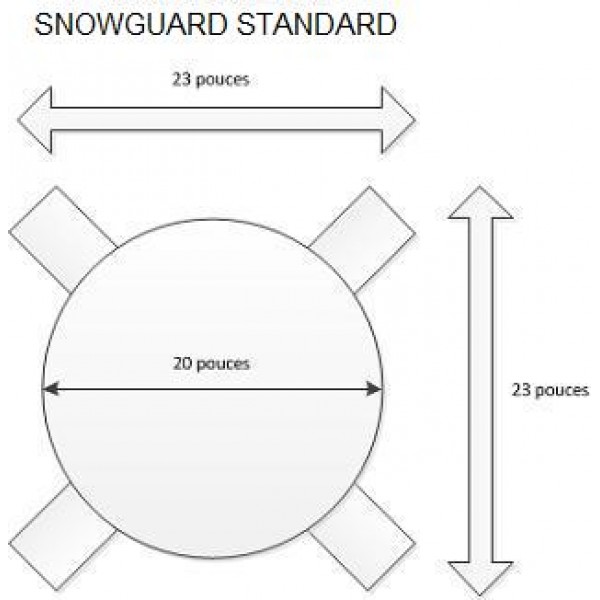
The Snowguard-S requires a surface of 23''X23 '' for the 4 brackets to be installed without constraints. The legs are slightly flexible so the Snowguard-S can be install on a 21''X21 '' minimum area.
Sit on a bench or at any place where you 'll be able to work safely . Using a drill fitted with a wick of 1/4'', drill 2 holes distant from each other of an inch on each pallet of each leg . There are 4 legs , so 8 drill holes.
Turn off the power of the heat pump . To do this, you can use the service breaker located near the heat pump outside . You can also use the circuit breaker of the heat pump located in the electrical panel of the residence.
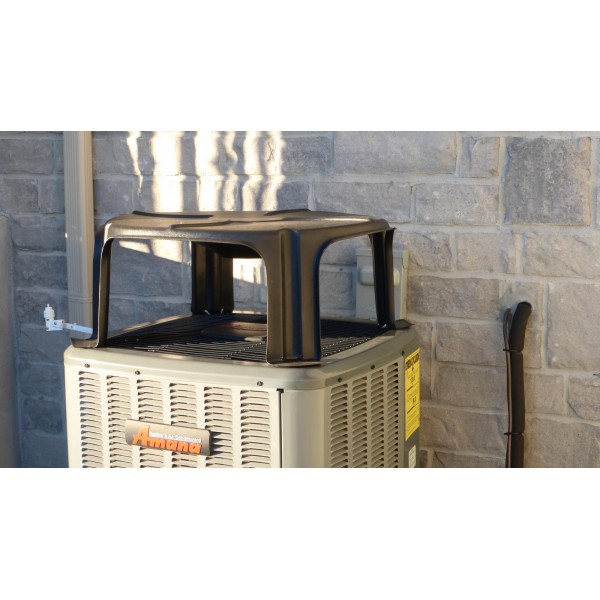
Place the Snowguard-S on the heat pump. One leg after the other , put a ty- rap in one of the two holes in the pallet of the leg , then pass the ty- rap in the grill above the heat pump fan and in the second hole of the pallet leg . Then tigh-up the ty- rap and cut off the excess . Make sure not to let the excess ty- rap fall into the heat pump. Repeat for each leg.
Put back the power of the heat pump on.
The Snowguard-S requires a surface of 23''X23 '' for the 4 brackets to be installed without constraints. The legs are slightly flexible so the Snowguard-S can be install on a 21''X21 '' minimum area.
Turn off the power of the heat pump . To do this, you can use the service breaker located near the heat pump outside . You can also use the circuit breaker of the heat pump located in the electrical panel of the residence.
WARNING , THE NEXT STEP IS TO BE MADE WITH LOTS OF CAUTION . MAKE SURE YOU DO NOT SCREW SCREWS IN THE HEAT PUMP COIL, THIS COULD RESULT IN A MAJOR FAILURE . IN DOUBT , DO NOT SCREW, STOP AND CALL A PROFESSIONAL . WE RECOMMEND USING OUR INSTALLATION SERVICES.
Place the Snowguard-S on the heat pump. Secure each leg of the Snowguard-S by screwing two self- tapping screws in each palette. The screws must pass through the palette and end-up in the heat pump casing.
Put back the power of the heat pump on.
MODEL: SNOWGUARD-S
PRICE: 180.00$
** delivery not-included **